A Step-by-Step Guide to Switching Music Distributors
A Step-by-Step Guide to Switching Music Distributors
With tools like Catalog Import, you can move your music without worry and without starting from scratch.
To many artists, switching distributors sounds complicated and risky.
They worry they’ll lose streams, lose playlist placements, or spend hours re-entering all their metadata. We've already disproved that you can switch distributors without losing streams, but the truth is: switching distributors is simple and safe, when you use the right tools.
In this article, we’ll break down:
What Catalog Import Is
What to Know Before Switching (Your Pre-Transfer Checklist)
Switching Distributors in 3 Steps
Removing Releases from Your Old Distributor
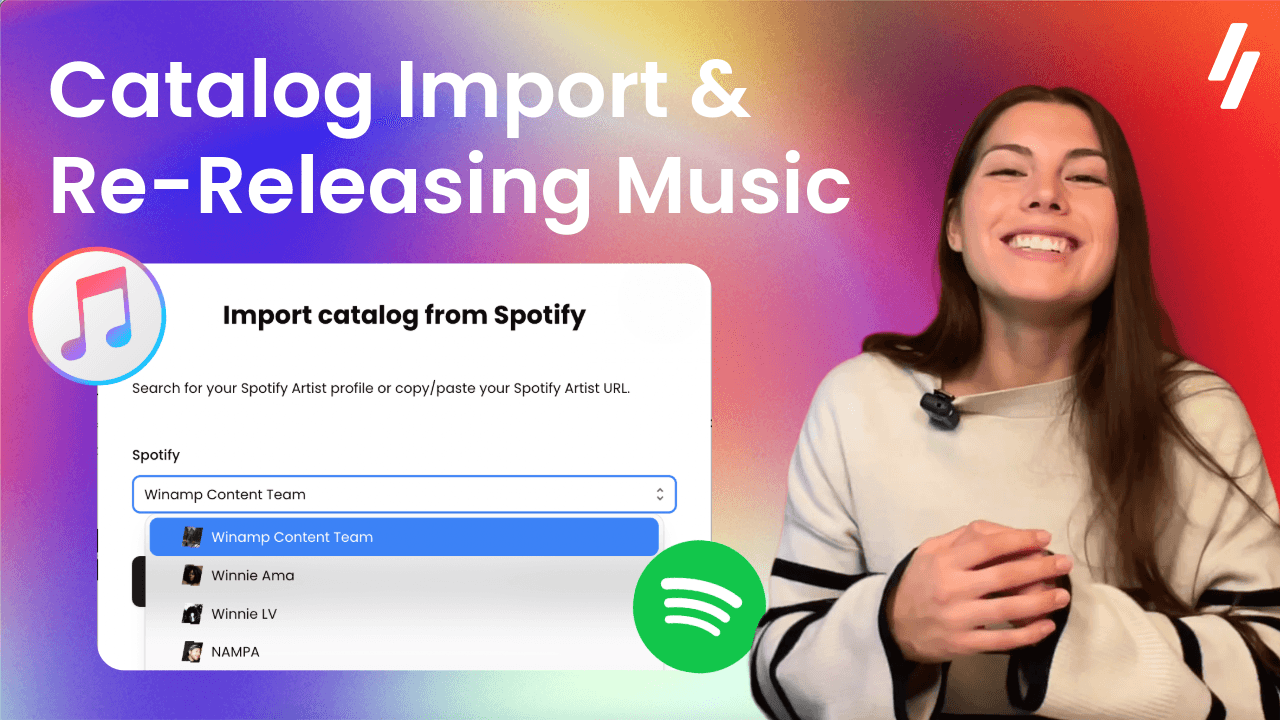
What Is Catalog Import (and How It Helps You Switch Distributors)
With Catalog Import, artists can automatically transfer information from existing releases directly into their digital distribution platform of choice. Instead of re-entering all your metadata from scratch, you import information directly from your Spotify releases.
When you connect your Spotify profile, the platform automatically imports important metadata, including:
Your Track titles
Artwork
ISRC codes
Release structure
This addresses one of the main concerns artists have:
As long as your ISRC and key metadata remain the same, your streams and playlist placements stay intact.
With Catalog Import, you create a much faster and reliable process for transferring key metadata. Plus, once your catalog is imported, you simply need to fill-out the remaining elements required for distribution. Including:
Uploading your original audio files.
Confirming contributor information.
Verifying your artist identity.
In just a few minutes, you’ll have transferred your entire discography, re-distributed onto DSPs, and removed your track from your old distributor. But before moving forward, it’s essential that we know exactly which information is most important to correctly transfer.
Switch Distributors Checklist: What to Know Before Switching
To ensure a smooth transition between your old and new distributor, a few track details must stay exactly the same. Messing up this part of the process is typically the biggest worry artists have when transferring their music.
Luckily, this is quite easy to solve. Understanding exactly which information to keep consistent will help you avoid any issues in the first place. We’ve made this process easy to check with our Switching Distributors checklist.
Essential information to know beforehand, includes:
Your Track titles and artist name(s)
Track / Album Artwork
Your Original Audio files
Release type (single, EP, or album)
Original ISRC and UPC codes
Original release date
Catalog Import automatically transfers your titles, artwork, and ISRC codes, which makes the transferring process a lot easier. For artists concerned about making simple mistakes, using an import tool can help ensure correct and safe metadata transfer.
How to Switch Music Distributors in 3 Simple Steps
The process of transferring your music discography is pretty straightforward.
Step #1 — Connect your Spotify profile
To begin, copy the URL of your Spotify artist profile. You can find this by opening your Spotify artist page, clicking the three dots next to your artist name, and selecting Share → Copy link to artist. If you’re on the Winamp for Artists platform, you can also search for your Spotify profile once you click the button “Import Catalog from Spotify”.
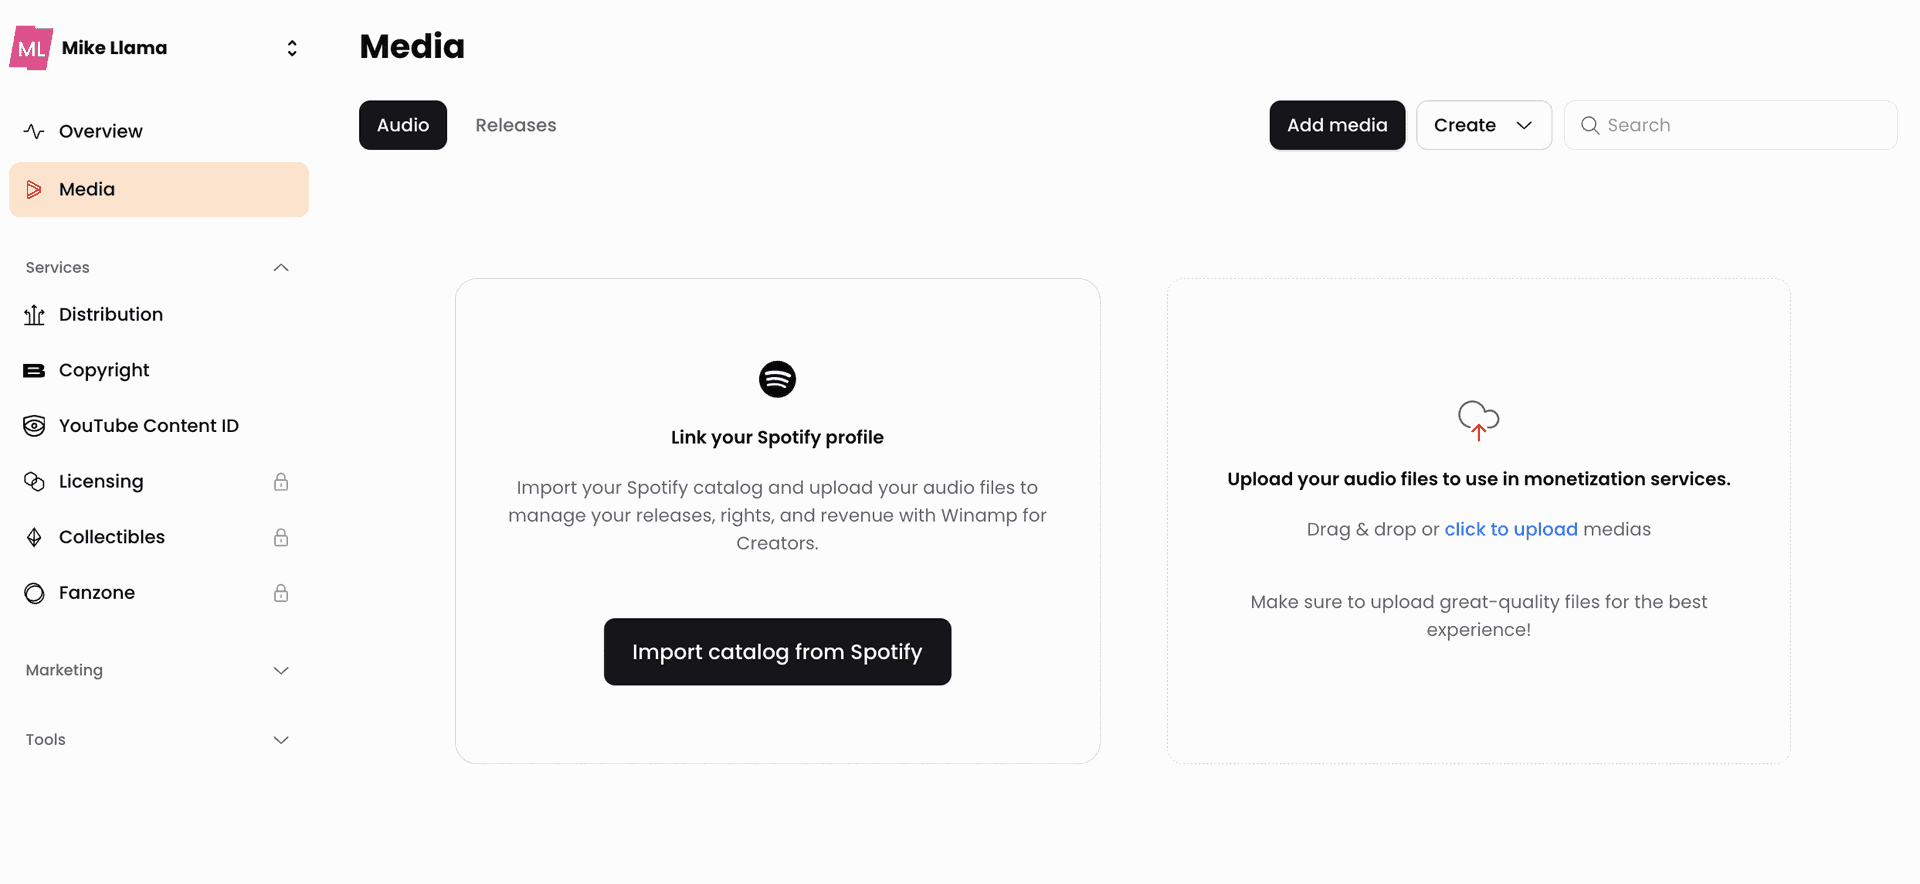
Once Winamp for Artists knows your Spotify profile, the platform identifies your catalog and begins importing your metadata. Be patient here! You’ll want to wait until all your released tracks have been collected and uploaded onto the platform.
Step 2 — Import your catalog metadata
After connecting your Spotify profile, your catalog is automatically imported into your media library with the most essential track information, including titles, artwork, and ISRC codes.
Your tracks will appear in your library as draft releases, waiting for the final elements needed for distribution. At this stage, just need to:
Upload Your Original Audio files
These files should match the versions originally released exactly, so that streaming platforms can easily recognize your releases. Once you’ve uploaded the original files, the system runs a quick copyright and metadata verification check. If you’ve verified your identity, you shouldn’t have any issue with copyright claims (because you've proved you created the tracks!)
Contributor information
You may collaborate with other artists, songwriters, composers, and/or producers on your tracks. It’s key that you account for these individuals under each of your releases.
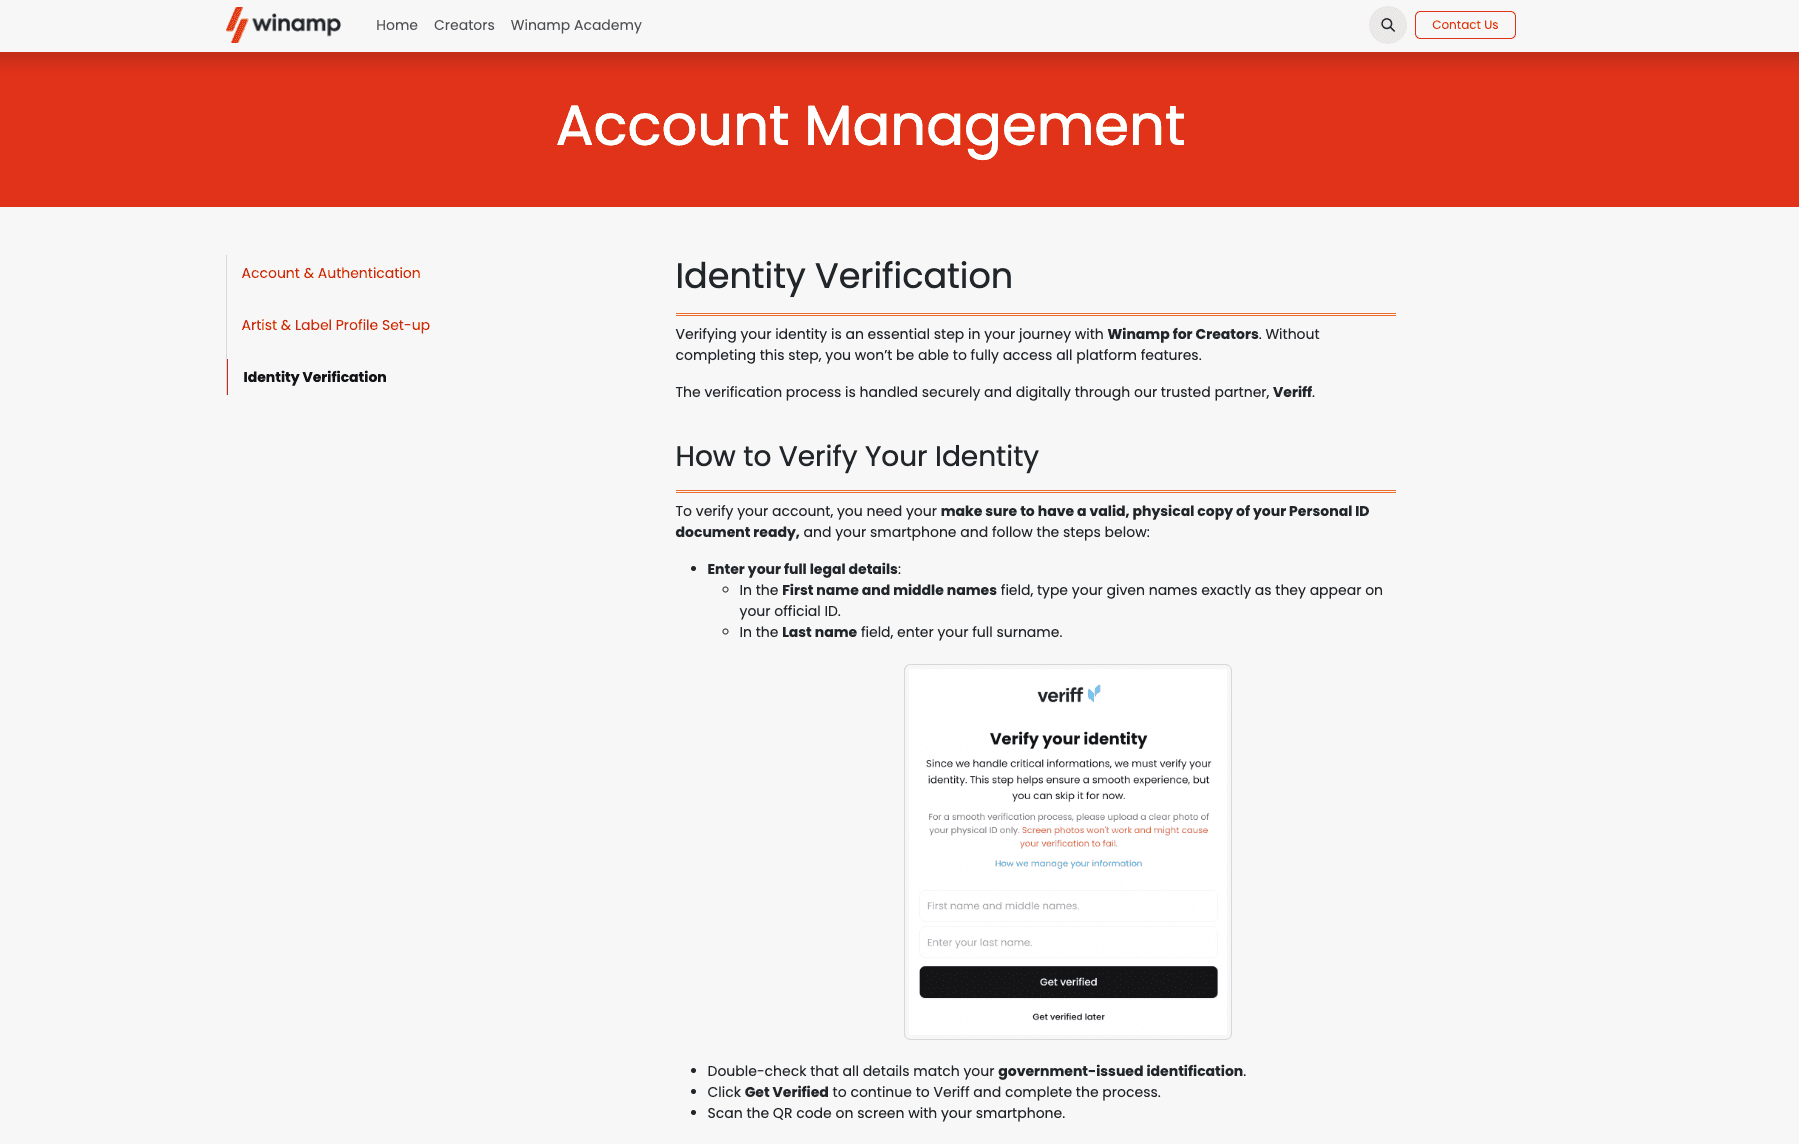
Verify Your Artist Identity
When you import tracks using Catalog Import, it’s important that your legal name can be matched against your Spotify account. This helps prove that you are the artist who owns these tracks. Most likely, if you haven't done this step, Catalog Import won't approve your attempted import.
Our Academy video on Verifying Your Identity walks through the whole process, or you can read our support page.
Step 3 — Re-Distribute Your Tracks
Finally, once your catalog is imported and audio files uploaded, you can re-release your music. It’s at this stage that you will confirm last key info such as:
Original release date
Original UPC/ISRC code (already included from Catalog Import)
Your DSP profile links (Spotify, Apple Music, Deezer, etc.)
Of course, make sure to indicate that these tracks are a re-release and select a “Soon as Possible” release date.
After this step, your tracks are ready to be submitted for distribution and we can proceed to removing your releases from your old distributor.
Final Step: How to Remove Your Music from Your Old Distributor
After your music has been successfully delivered through your new distributor, the final step is removing the release from your previous distributor.
It’s important to wait until the new release is live before removing the old one. This prevents any interruption for your listeners, and typically takes around 24 hours.
Once the new version is confirmed on streaming platforms, you can safely request a takedown. You can find information for how to remove your releases on the support page of your old distributor. We’ve linked a few of the most common distributors and their track removal processes below.
One small note before we move forward…
Despite these sites' word choices, you aren’t cancelling, deleting, or otherwise annihilating your tracks. You’re just transferring them. If the wording on these sites scares you, just remember that these distributors want to keep your music, even if they aren’t the best fit for you.
Luckily, you’ve just learned that switching distributors is safe and easy when you use the right tools and understand which information is essential to include.
To many artists, switching distributors sounds complicated and risky.
They worry they’ll lose streams, lose playlist placements, or spend hours re-entering all their metadata. We've already disproved that you can switch distributors without losing streams, but the truth is: switching distributors is simple and safe, when you use the right tools.
In this article, we’ll break down:
What Catalog Import Is
What to Know Before Switching (Your Pre-Transfer Checklist)
Switching Distributors in 3 Steps
Removing Releases from Your Old Distributor
What Is Catalog Import (and How It Helps You Switch Distributors)
With Catalog Import, artists can automatically transfer information from existing releases directly into their digital distribution platform of choice. Instead of re-entering all your metadata from scratch, you import information directly from your Spotify releases.
When you connect your Spotify profile, the platform automatically imports important metadata, including:
Your Track titles
Artwork
ISRC codes
Release structure
This addresses one of the main concerns artists have:
As long as your ISRC and key metadata remain the same, your streams and playlist placements stay intact.
With Catalog Import, you create a much faster and reliable process for transferring key metadata. Plus, once your catalog is imported, you simply need to fill-out the remaining elements required for distribution. Including:
Uploading your original audio files.
Confirming contributor information.
Verifying your artist identity.
In just a few minutes, you’ll have transferred your entire discography, re-distributed onto DSPs, and removed your track from your old distributor. But before moving forward, it’s essential that we know exactly which information is most important to correctly transfer.
Switch Distributors Checklist: What to Know Before Switching
To ensure a smooth transition between your old and new distributor, a few track details must stay exactly the same. Messing up this part of the process is typically the biggest worry artists have when transferring their music.
Luckily, this is quite easy to solve. Understanding exactly which information to keep consistent will help you avoid any issues in the first place. We’ve made this process easy to check with our Switching Distributors checklist.
Essential information to know beforehand, includes:
Your Track titles and artist name(s)
Track / Album Artwork
Your Original Audio files
Release type (single, EP, or album)
Original ISRC and UPC codes
Original release date
Catalog Import automatically transfers your titles, artwork, and ISRC codes, which makes the transferring process a lot easier. For artists concerned about making simple mistakes, using an import tool can help ensure correct and safe metadata transfer.
How to Switch Music Distributors in 3 Simple Steps
The process of transferring your music discography is pretty straightforward.
Step #1 — Connect your Spotify profile
To begin, copy the URL of your Spotify artist profile. You can find this by opening your Spotify artist page, clicking the three dots next to your artist name, and selecting Share → Copy link to artist. If you’re on the Winamp for Artists platform, you can also search for your Spotify profile once you click the button “Import Catalog from Spotify”.
Once Winamp for Artists knows your Spotify profile, the platform identifies your catalog and begins importing your metadata. Be patient here! You’ll want to wait until all your released tracks have been collected and uploaded onto the platform.
Step 2 — Import your catalog metadata
After connecting your Spotify profile, your catalog is automatically imported into your media library with the most essential track information, including titles, artwork, and ISRC codes.
Your tracks will appear in your library as draft releases, waiting for the final elements needed for distribution. At this stage, just need to:
Upload Your Original Audio files
These files should match the versions originally released exactly, so that streaming platforms can easily recognize your releases. Once you’ve uploaded the original files, the system runs a quick copyright and metadata verification check. If you’ve verified your identity, you shouldn’t have any issue with copyright claims (because you've proved you created the tracks!)
Contributor information
You may collaborate with other artists, songwriters, composers, and/or producers on your tracks. It’s key that you account for these individuals under each of your releases.
Verify Your Artist Identity
When you import tracks using Catalog Import, it’s important that your legal name can be matched against your Spotify account. This helps prove that you are the artist who owns these tracks. Most likely, if you haven't done this step, Catalog Import won't approve your attempted import.
Our Academy video on Verifying Your Identity walks through the whole process, or you can read our support page.
Step 3 — Re-Distribute Your Tracks
Finally, once your catalog is imported and audio files uploaded, you can re-release your music. It’s at this stage that you will confirm last key info such as:
Original release date
Original UPC/ISRC code (already included from Catalog Import)
Your DSP profile links (Spotify, Apple Music, Deezer, etc.)
Of course, make sure to indicate that these tracks are a re-release and select a “Soon as Possible” release date.
After this step, your tracks are ready to be submitted for distribution and we can proceed to removing your releases from your old distributor.
Final Step: How to Remove Your Music from Your Old Distributor
After your music has been successfully delivered through your new distributor, the final step is removing the release from your previous distributor.
It’s important to wait until the new release is live before removing the old one. This prevents any interruption for your listeners, and typically takes around 24 hours.
Once the new version is confirmed on streaming platforms, you can safely request a takedown. You can find information for how to remove your releases on the support page of your old distributor. We’ve linked a few of the most common distributors and their track removal processes below.
One small note before we move forward…
Despite these sites' word choices, you aren’t cancelling, deleting, or otherwise annihilating your tracks. You’re just transferring them. If the wording on these sites scares you, just remember that these distributors want to keep your music, even if they aren’t the best fit for you.
Luckily, you’ve just learned that switching distributors is safe and easy when you use the right tools and understand which information is essential to include.
Share on:

Simplify your music journey with tools to release your music, monetize it, and engage with fans.
Join Winamp for Creators